Hair clippers collect more than loose hair. Oil, skin flakes, sweat, and other debris can build up between the blades and inside the clipper head. If you use the same clippers on several people, proper cleaning and disinfection also become part of good hygiene.
Learning how to clean hair clippers is simple. The key is to remove visible debris first, then use an appropriate disinfectant according to its label, allow the required contact time, and keep the clipper dry and well lubricated.
This guide explains how to sanitize hair clippers, how often to clean them, what products to use, common mistakes to avoid, and how to keep your clippers working properly.
Table of Contents
What Is the Difference Between Cleaning, Sanitizing, and Disinfecting Clippers?
Cleaning removes visible dirt, hair, oil, and other material from the clipper. Sanitizing reduces certain bacteria to a specified level. Disinfecting uses an antimicrobial product to kill or inactivate specified microorganisms on a hard, non-porous surface.
These terms are not interchangeable. The U.S. Environmental Protection Agency explains that cleaning removes dirt and organic matter, while sanitizing and disinfecting use antimicrobial chemicals for different levels of microbial control.
For hair clippers, a practical routine is:
- Clean the clipper first.
- Disinfect the removable blade or other compatible parts.
- Allow the product to remain wet for the label’s required contact time.
- Dry the parts completely.
- Oil the blades if the manufacturer recommends it.
How to Clean Hair Clippers Step by Step
Regular cleaning removes trapped hair, oil, and buildup that can affect clipper performance. Follow these simple steps to keep your clippers clean, sharp, and ready to use.
Step 1: Turn Off and Unplug the Clippers
Safety comes first.
Switch the clipper off and unplug it from the power outlet. If it is cordless, turn it off and follow the manufacturer’s instructions for removing or handling the battery-powered unit.
Do not clean around moving blades while the clipper is running unless the manufacturer’s instructions specifically allow a particular cleaning method.
Step 2: Remove the Blade
If your clipper has a detachable blade, remove it according to the manufacturer’s instructions.
Some models use a quick-release system. Others require screws to be removed.
Do not force the blade. If you are unsure how it comes off, check the manufacturer’s manual.
Keeping the blade separate makes it easier to remove trapped hair and clean the areas where the blade meets the clipper.
Step 3: Brush Away Loose Hair
Use a small clipper-cleaning brush to remove hair from:
- Between the blade teeth
- Around the moving blade
- Under the blade
- Around the blade hinge
- Inside accessible gaps
- Around the clipper casing
Brush the hair away from the clipper instead of pushing it deeper inside.
A soft, dry brush works well for routine cleaning.
Step 4: Remove Oil and Built-Up Residue
Hair clippers often have a thin layer of blade oil. Over time, oil can mix with hair and skin debris and create a sticky buildup.
Use a suitable cleaner according to the clipper and blade manufacturer’s instructions.
Avoid flooding the blade or clipper with liquid. The electric housing should be protected from moisture unless the manufacturer specifically states that the unit is washable.
Step 5: Clean the Clipper Body
Wipe the outside of the clipper with a suitable cloth or cleaning product.
Pay attention to:
- The handle
- Power button
- Blade-release area
- Charging area
- Cord area
- Guards and attachments
Do not allow cleaning liquid to run into openings, switches, charging ports, or the motor housing.
Step 6: Clean the Guards and Attachments
Plastic guards can collect hair, oil, and skin debris.
Remove the guards and wash them according to the manufacturer’s instructions. If they are water-safe, warm water and an appropriate detergent can help remove visible residue.
After cleaning, dry them completely before storing them.
If the guards are going to be disinfected, use a disinfectant labeled for the material and follow its instructions.
How to Sanitize Hair Clippers Properly
The safest approach is to follow the label on a disinfectant designed for barber, salon, or grooming tools.
A disinfectant does not necessarily work just because it is sprayed onto a surface. The product must be used in the way its label specifies.
The EPA advises users to follow the product label, including the approved application method and contact time. If a product is supposed to keep a surface visibly wet for a certain period, the surface needs to remain wet for that entire period.
Step 1: Clean Before Disinfecting
Do not skip the cleaning step.
Hair, dandruff, oil, and other organic material can interfere with the disinfection process. EPA-registered barber and salon tool labels commonly instruct users to remove hair and debris before disinfecting clipper blades.
Step 2: Choose the Right Disinfectant
Look for a product whose label specifically allows use on the type of tool or surface you are treating.
For professional use, check that the product is appropriate for barber or salon implements.
If you are outside the United States, use a disinfectant approved by the relevant authority in your country and follow the local product label.
Do not assume that household cleaners, hand sanitizer, perfume, alcohol-based cosmetics, or homemade mixtures are suitable substitutes for a tool disinfectant.
Step 3: Apply the Disinfectant Correctly
Follow the product’s instructions for application.
Some products are ready to use. Others must be diluted.
Do not guess the dilution ratio. Different products have different concentrations and instructions.
For example, EPA-registered products intended for barber and salon tools can specify particular dilution ratios and contact times. One current EPA label for barber/salon tools instructs users to remove hair and debris first and, for its specified application, keep the blade visibly wet for 10 minutes.
That does not mean every disinfectant requires 10 minutes. The correct contact time is the time printed on the specific product label.
Step 4: Keep the Surface Wet for the Required Contact Time
This is one of the most commonly missed steps.
Spraying a disinfectant and immediately wiping it away may not provide the intended disinfection.
If the label says the surface must remain wet for a specific amount of time, keep it wet for that entire period. EPA guidance specifically highlights contact time as a key part of effective disinfectant use.
Step 5: Dry the Blade
After the required contact time, follow the product label regarding rinsing.
Some products require rinsing. Others may have different instructions.
Dry metal blades thoroughly before storage or use. Moisture left on metal can contribute to corrosion.
Step 6: Apply Clipper Oil
Once the blade is clean and dry, add clipper oil if recommended by the manufacturer.
Usually, only a small amount is needed.
Oil helps reduce friction and can help the blade move smoothly. Too much oil can attract hair and dust, so wipe away excess.
How Often Should You Clean Hair Clippers?
The right cleaning schedule depends on how often the clippers are used.
| Use | Recommended routine |
|---|---|
| Personal use | Clean after each use or whenever hair builds up |
| Family use | Clean and disinfect between different users |
| Professional barber use | Clean and disinfect between clients |
| Heavy daily use | Brush out debris frequently and perform a deeper cleaning regularly |
| After cutting very dirty or oily hair | Clean immediately |
| After dropping or contaminating the blade | Clean and disinfect before reuse |
Professional clippers should generally be cleaned and disinfected between clients according to applicable local regulations, professional standards, and product instructions.
What Do You Need to Clean Hair Clippers?
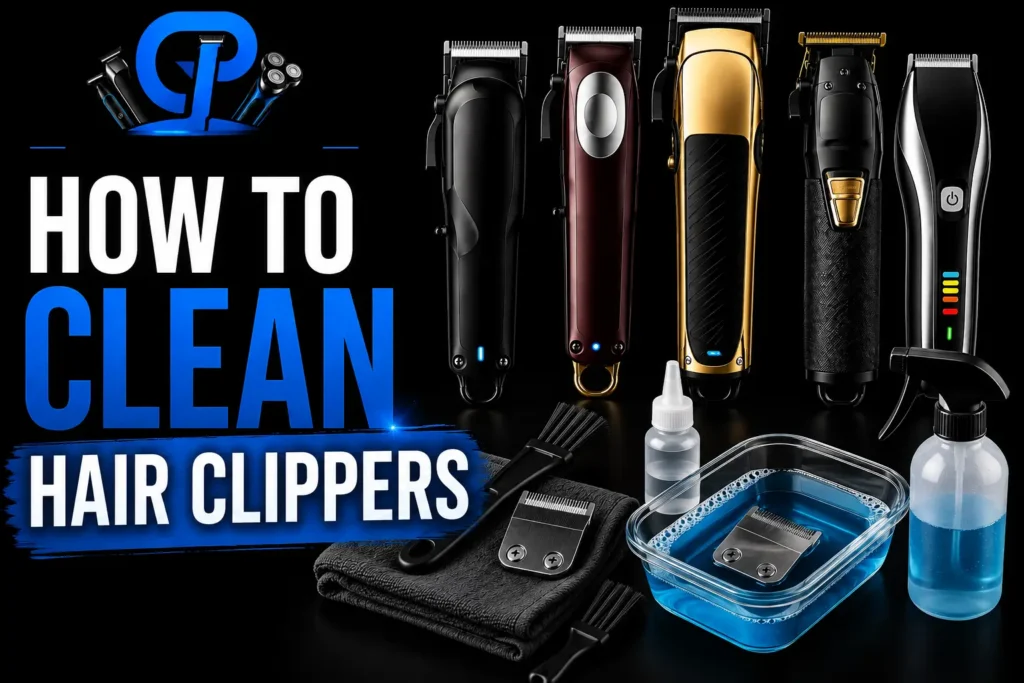
A basic clipper-cleaning kit can include:
- Clipper cleaning brush
- Appropriate disinfectant
- Clean cloths
- Clipper oil
- Small cleaning brush for tight areas
- Manufacturer-approved blade cleaner, when applicable
- Clean container for disinfected removable tools
- Replacement blades when necessary
For professional barbers, it is useful to keep clean tools separate from used or contaminated tools.
Can You Use Rubbing Alcohol on Hair Clippers?
It depends on the product, the concentration, the clipper material, and the manufacturer’s instructions.
Do not assume that rubbing alcohol is automatically an appropriate disinfectant for every clipper.
The better approach is to use a product specifically labeled for the intended barber or salon tool and follow its directions.
Also, avoid spraying liquid into the clipper housing. Some disinfectant labels specifically warn users not to spray the clipper case or allow liquid to drip into the housing.
Can You Wash Hair Clippers With Water?
Only if the clipper is designed to be washed or submerged.
Many detachable blades and guards can be cleaned with water, but the electrical body may not be water-safe.
Before using water, check the manufacturer’s instructions for your exact model.
A washable clipper is different from a clipper that is merely easy to wipe clean.
When in doubt, keep the electrical housing dry.
How to Deep Clean Hair Clippers
Routine brushing is not always enough. A deeper cleaning can help when hair and oil have accumulated around the blade mechanism.
Deep-cleaning checklist
- Turn off and unplug the clipper.
- Remove the blade if possible.
- Brush away loose hair.
- Clean visible oil and residue.
- Clean guards and attachments.
- Clean the clipper body without allowing liquid into openings.
- Disinfect compatible tools according to the product label.
- Observe the full contact time.
- Rinse if the label requires it.
- Dry all parts thoroughly.
- Reassemble the clipper.
- Apply the recommended amount of clipper oil.
- Store the clipper in a clean, dry location.
Common Mistakes When Cleaning Clippers
Cleaning clippers the wrong way can damage the blades or reduce their performance. Avoid these common mistakes to keep your clippers clean, safe, and working properly.
1. Disinfecting Without Cleaning
A disinfectant is not a replacement for removing visible hair and buildup.
Clean first, then disinfect.
2. Wiping the Disinfectant Off Too Soon
The product needs enough contact time to work as intended.
Always follow the label.
3. Spraying the Entire Clipper
This can push liquid into the motor or electrical components.
Apply products only as directed.
4. Using Too Much Oil
More oil does not automatically mean better lubrication.
Excess oil attracts hair and dust and can leave the clipper greasy.
5. Ignoring the Guards
Guards touch hair and skin too. Clean them as well.
6. Using a Dirty Cleaning Brush
A brush that is full of old hair and debris can put contamination back onto a clean blade.
Clean or replace the brush regularly.
7. Storing Blades While They Are Wet
Water and moisture can contribute to corrosion.
Dry the blade before storage.
How to Keep Clippers Cleaner for Longer
Good maintenance is easier than trying to remove heavy buildup later.
Brush after every haircut
A quick brush removes loose hair before it becomes packed into the blade.
Oil the blade regularly
Follow the clipper manufacturer’s recommended oiling schedule.
Keep tools dry
Store clippers somewhere clean and dry.
Do not share personal clippers carelessly
If several people use the same clipper, clean and disinfect it between users.
Replace damaged blades
A blade that is chipped, badly rusted, or no longer cuts correctly may need replacement rather than more cleaning.
Cleaning vs. Sanitizing vs. Disinfecting
| Process | Main purpose | When to use |
| Cleaning | Removes hair, dirt, oil, and debris | Before disinfection |
| Sanitizing | Reduces certain bacteria to a specified level | When the product is labeled for sanitizing |
| Disinfecting | Kills or inactivates specified microorganisms | When stronger microbial control is required |
| Sterilizing | Eliminates all forms of microbial life under specified conditions | Specialized applications, not routine clipper cleaning |
Do not use the terms interchangeably. EPA describes disinfectants as products designed to destroy or irreversibly inactivate specified microorganisms on inanimate surfaces, while sanitizers have different performance claims.
Expert Tips for Barber Shops
If you operate a barbershop, consistency matters more than having a complicated cleaning routine.
Create a simple process:
- Finish the haircut.
- Remove loose hair.
- Clean the blade and tools.
- Apply the approved disinfectant.
- Follow the required contact time.
- Rinse if required.
- Dry completely.
- Oil the blade when appropriate.
- Return the tool to a clean storage area.
- Prepare it again before the next client.
Keep a separate area or container for used tools so clean and used equipment do not get mixed.
Also check your local barbering, cosmetology, or public-health requirements. Rules can differ by country, state, province, or municipality.
What If the Clippers Smell Bad After Cleaning?
A persistent smell can mean that hair, skin debris, oil, or moisture is trapped somewhere.
Remove the blade and inspect the accessible areas. Clean away buildup, disinfect compatible components, and dry everything thoroughly.
If the smell remains, check the manufacturer’s instructions or have the clipper inspected. A burning or electrical smell is different from normal hair-and-oil buildup and may indicate a mechanical or electrical problem.
What If the Clippers Start Pulling Hair?
Pulling or tugging can happen when blades become dull, dirty, misaligned, damaged, or poorly lubricated.
Try this sequence:
- Turn the clipper off.
- Remove the blade.
- Clean away hair and buildup.
- Disinfect according to the label.
- Dry the blade.
- Oil it as recommended.
- Check blade alignment.
- Replace the blade if it is damaged or dull.
If the clipper still pulls hair, the blade may need professional adjustment or replacement.
Safety Tips
Keep these rules in mind:
- Never mix different disinfectants.
- Never mix bleach with ammonia or other cleaning chemicals.
- Follow the product label.
- Use appropriate ventilation when the label calls for it.
- Keep chemicals away from children.
- Do not use a damaged electrical clipper.
- Do not immerse an electric clipper unless it is specifically designed for immersion.
- Do not spray liquid into the motor or electrical housing.
- Follow the manufacturer’s cleaning instructions.
- Use protective equipment if required by the product label.
EPA notes that disinfectants can be hazardous when misused, which is why users should read and follow the product’s precautionary and application instructions.
Frequently Asked Questions
What is the best way to clean hair clippers?
The best method is to turn the clipper off, remove the blade when possible, brush away hair and debris, clean visible residue, disinfect compatible parts according to the product label, dry everything, and oil the blade as recommended.
Is it necessary to disinfect hair clippers after every haircut?
For professional use, clippers should generally be cleaned and disinfected between clients according to applicable local rules and the disinfectant’s instructions. This helps prevent contamination from being transferred between people.
Can I spray disinfectant directly onto my hair clipper?
Only if the disinfectant label specifically permits that application method and the clipper manufacturer allows it. Never allow liquid to enter the electrical housing unless the device is specifically designed for that type of exposure.
Should I clean clippers before disinfecting them?
Yes. Cleaning should come first. Remove hair, oil, dirt, and other visible material before applying disinfectant. Current EPA-registered barber and salon tool labels commonly specify pre-cleaning before disinfection.
Why do my hair clippers rust after cleaning?
Rust can develop when metal blades remain wet, are exposed to moisture for too long, or are not properly maintained. Dry the blades thoroughly after cleaning and use clipper oil according to the manufacturer’s instructions.
When should I replace clipper blades?
Replace a blade when it is damaged, badly corroded, chipped, excessively dull, or continues to pull hair after proper cleaning, lubrication, and alignment. Regular blade maintenance can extend useful life, but it cannot fix permanently damaged metal.
Final Verdict: Clean Clippers, Better Hygiene
Learning how to clean clippers does not require a complicated routine. Remove hair and buildup, clean the tool, disinfect compatible parts with an appropriate product, follow the full contact time, dry the blade, and lubricate it as recommended.
For anyone learning how to sanitize hair clippers, the most important lesson is to follow the disinfectant label rather than guessing. Different products have different application methods, dilution requirements, and contact times. EPA guidance confirms that the label’s instructions are central to using a disinfectant safely and effectively.
A few minutes of proper maintenance after each use can also help your clippers cut better, last longer, and stay ready for the next haircut.
Authoritative Sources
- U.S. EPA: Cleaning, Sanitizing and Disinfecting
- U.S. EPA: Selected EPA-Registered Disinfectants
- U.S. EPA: How to Use Registered Disinfectants